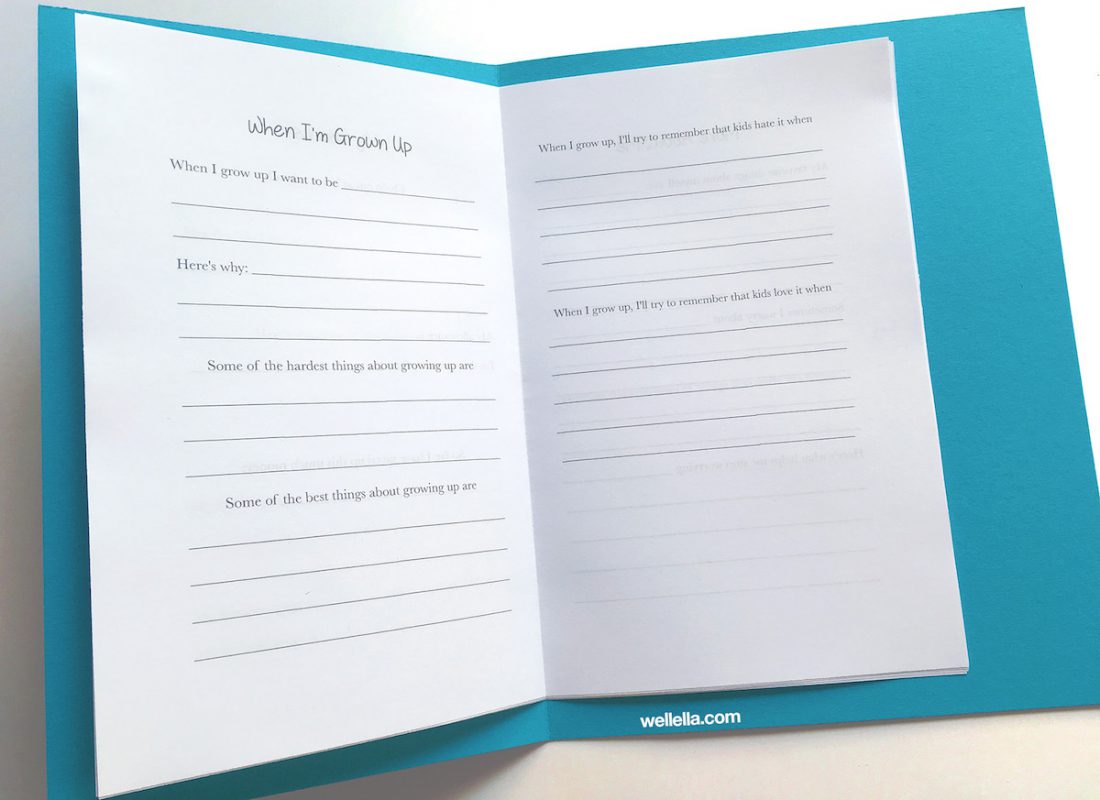
When I started my first bullet journal, my kids were immediately interested.
They were curious about my pretty new blank notebook, they were curious about my new pens and markers, and SUPER curious about my stickers!
So I made them some simple journals with a few sheets of paper. I told them they can use the journals to write lists, plans, thoughts, make pictures – anything.
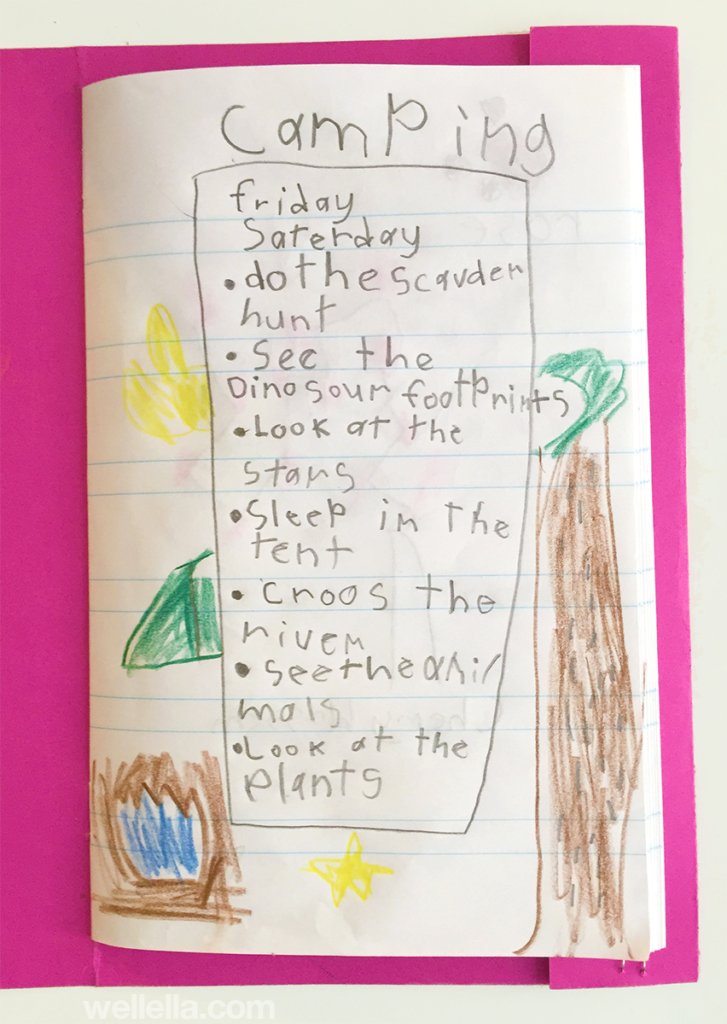
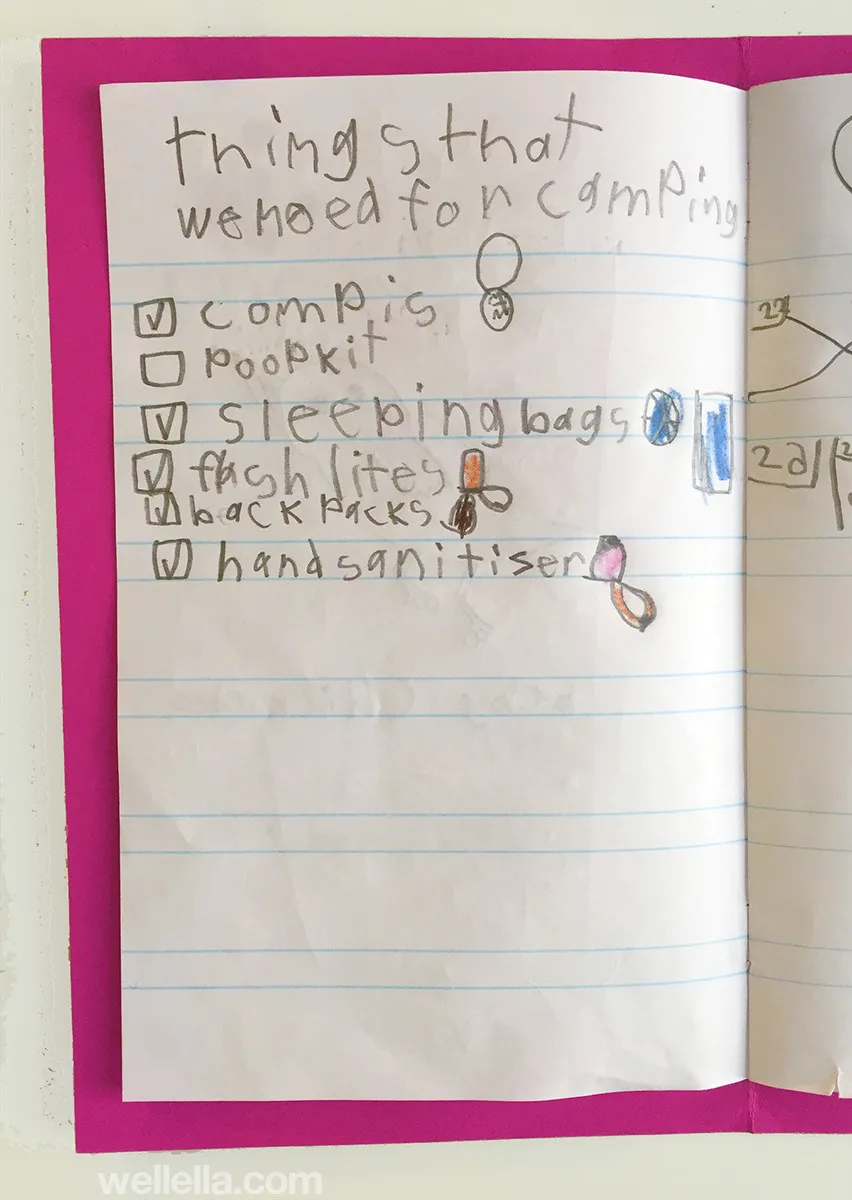
My older daughter decided to use her journal to plan out our future camping trip.
She created a list of things she wanted to do when we went camping and made a packing list, as well as a mini calendar to count down the days until the trip.
Check out how cute it is:
Pretty sweet, huh?
I also made her a scavenger hunting list specific to the place where we went camping, and taped it into the front cover of her journal.
The kids brought their journals with on our camping trip to document their experiences. Before we went to sleep in our tent, both kids spent about 30 minutes writing in their journals.
Moral of the story? Kids love journals!
Easy DIY Journal Tutorial
Here’s a tutorial to make a simple journal for kids. It’s a quick and easy DIY project that uses only a few materials that you probably already have at home.
Materials
To make the journal as I have, you’ll need:
- 5-6 sheets of paper, I used US letter size
- 1 sheet of heavy construction paper (I used 24×34 cm paper)
- A piece of flat elastic (about 9-10 inches)
- A stapler
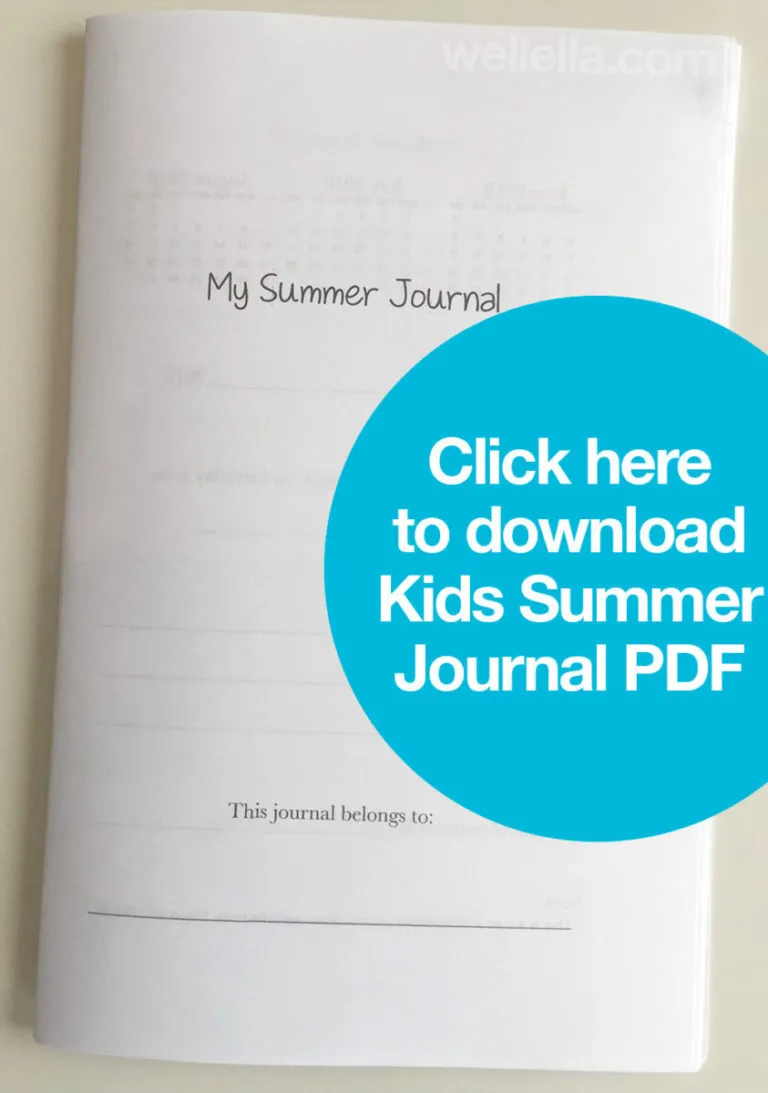
Download The Free Kids Summer Journal PDF
Click the image below to download this free PDF Kids Summer Journal :
Instructions
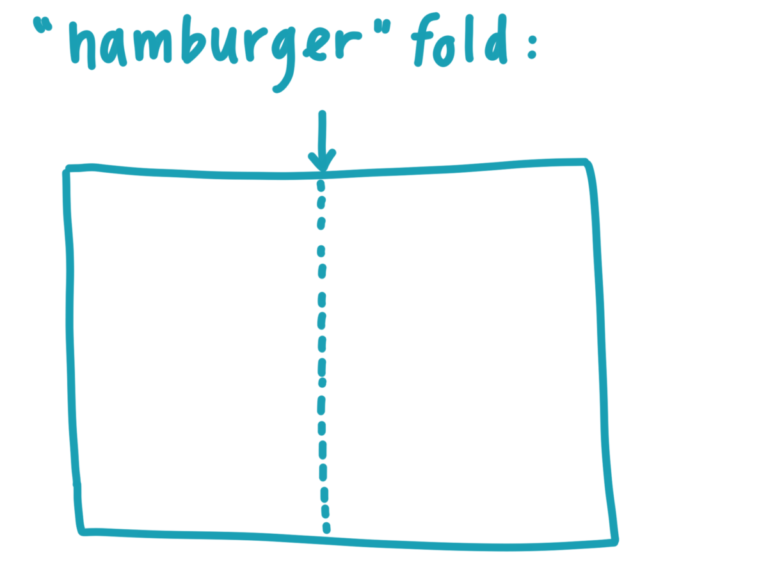
1. Fold the letter size paper in half, hamburger way.
2. Line the folded inner papers up on the construction paper, leaving about 1/2″ or 1cm margin on the three non-fold sides, as shown:
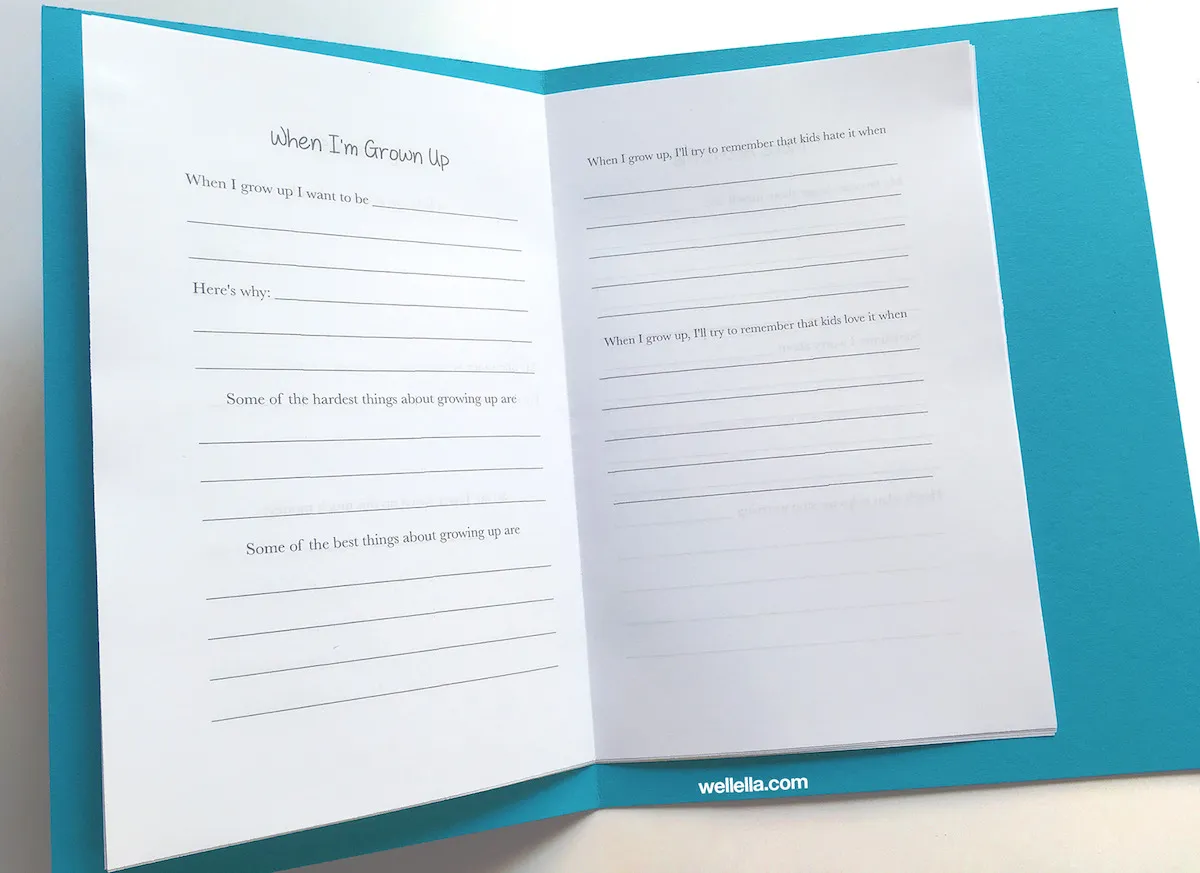
Fold the construction paper where the inner papers’ folded edge meets. See how the right side has a little extra edge? We’ll use that later to secure our elastic.
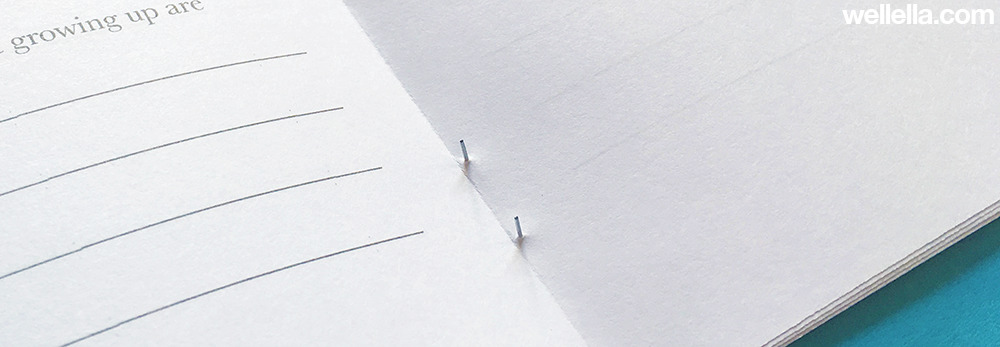
4. Open all the papers flat. Flip the stack so the construction paper is on top. Make sure the folds on all papers are lined up perfectly then staple twice along the fold. I placed the papers on a thick rug and pressed the stapler into that. The resulting staple looked like this:
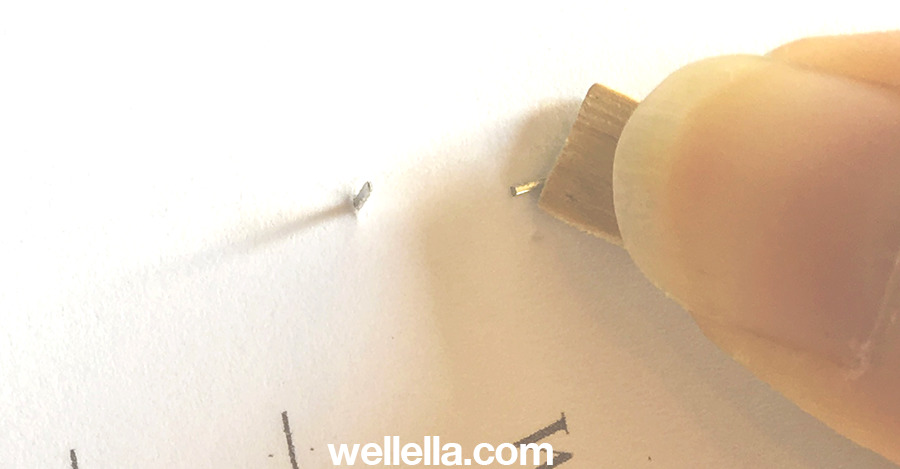
5. Use a clothespin or a coin to push the open ends of the staples down inward.
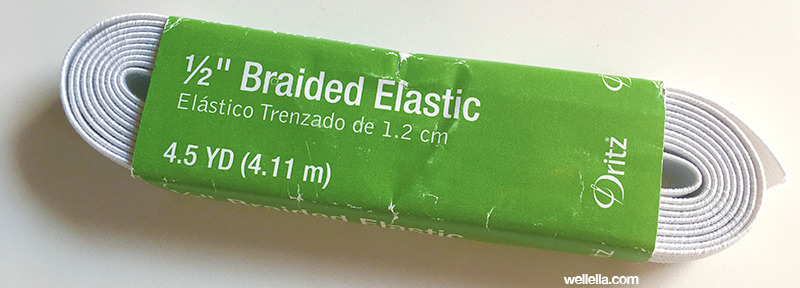
6. Now that the journal is bound, it’s time to add the elastic. I used basic elastic that cost about $1.00 from WalMart:
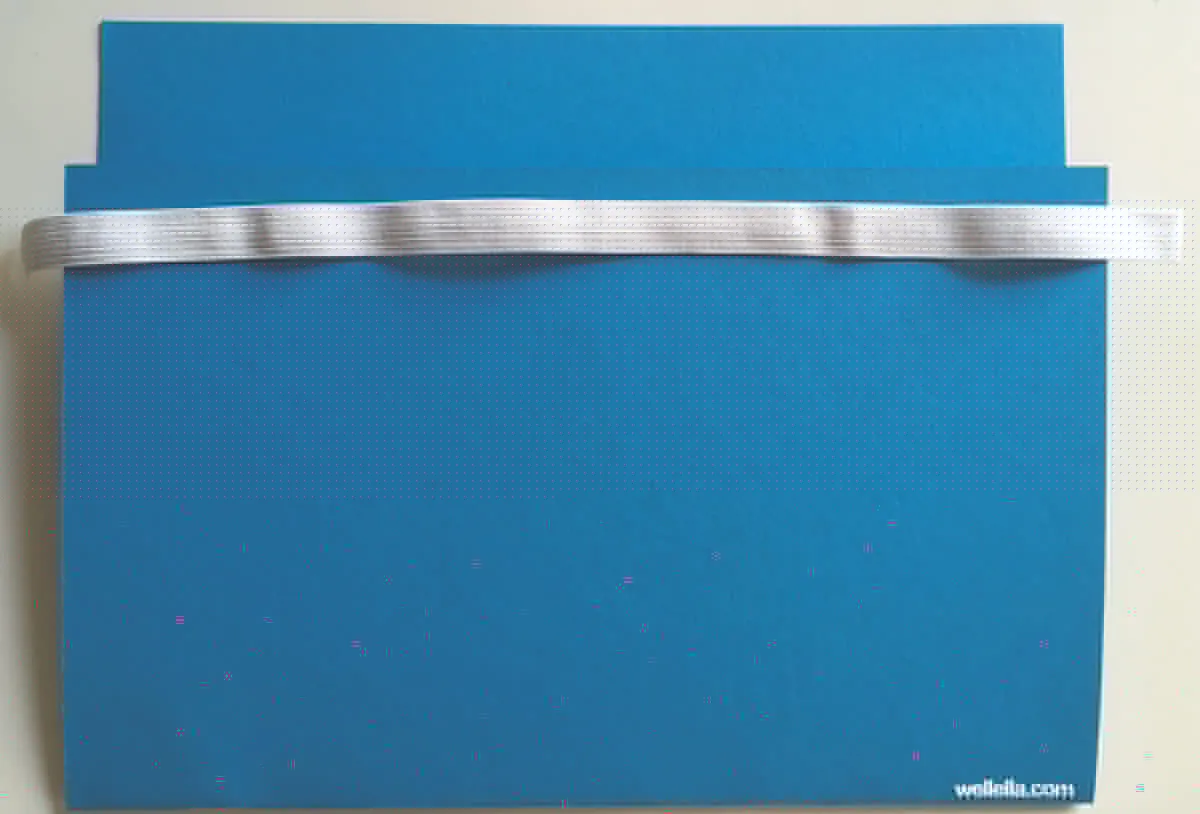
Cut a piece of elastic that is about an inch longer than the length of the journal:
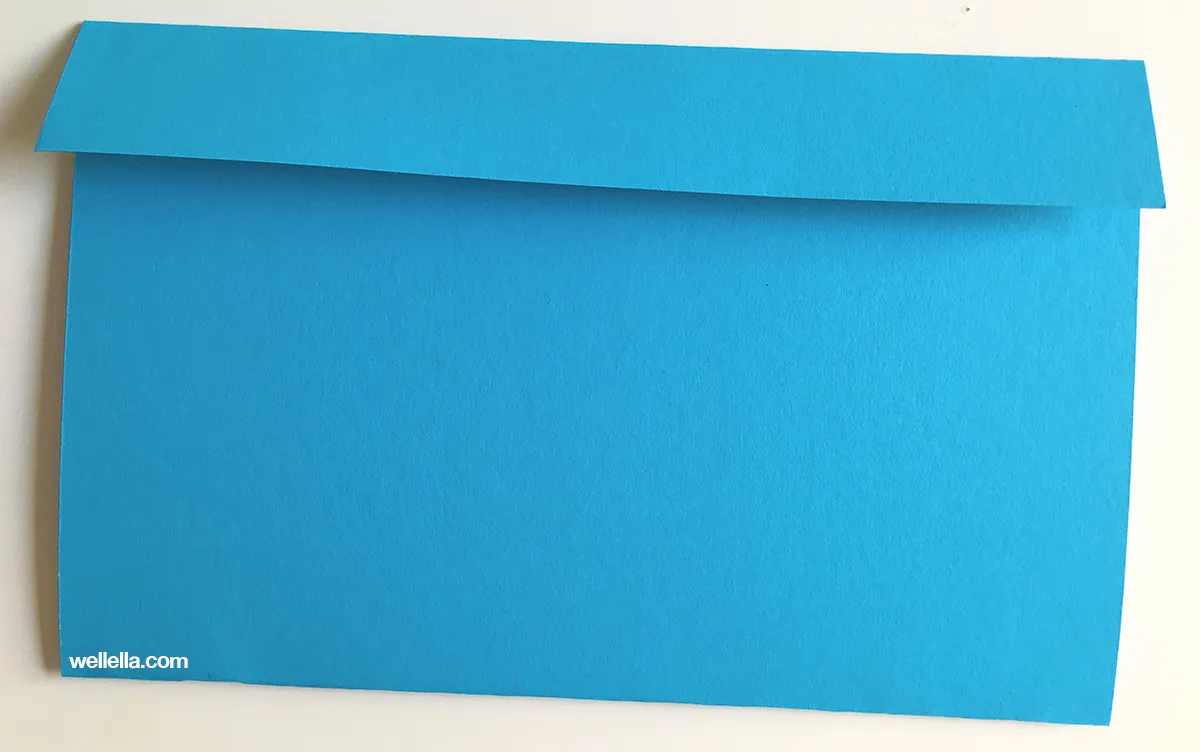
7. Set the elastic aside for a moment. Let’s fold over the excess construction paper on the long side. Fold it right where the front cover edge meets it:
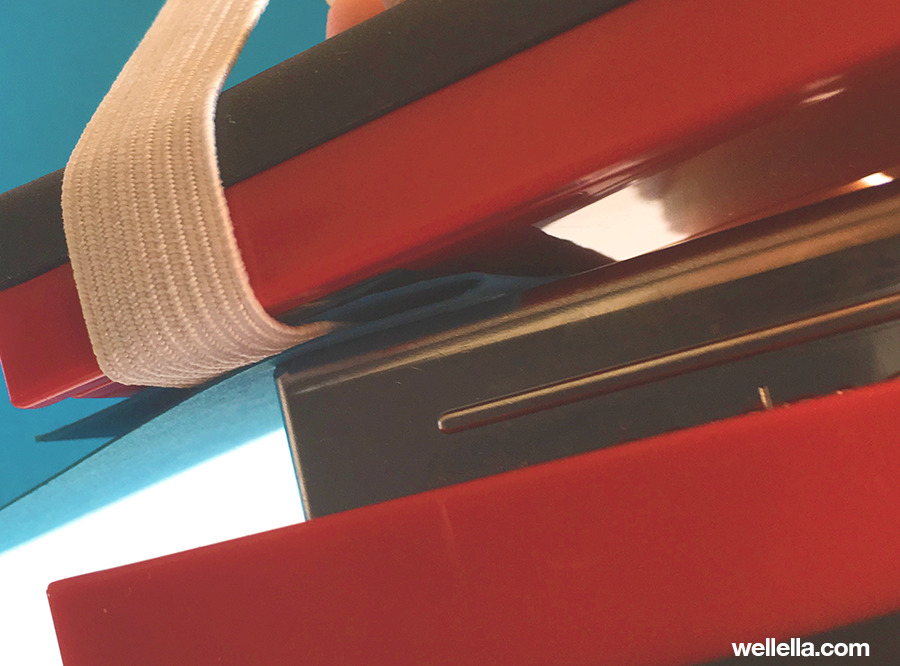
8. Now for the last step. Place the end of the elastic into one side of the fold you just made and staple it there. Do the same for the other end of the elastic. It’s okay to bend the paper a little bit if it helps you get the stapler in there.
In the end, this is what it will look like:
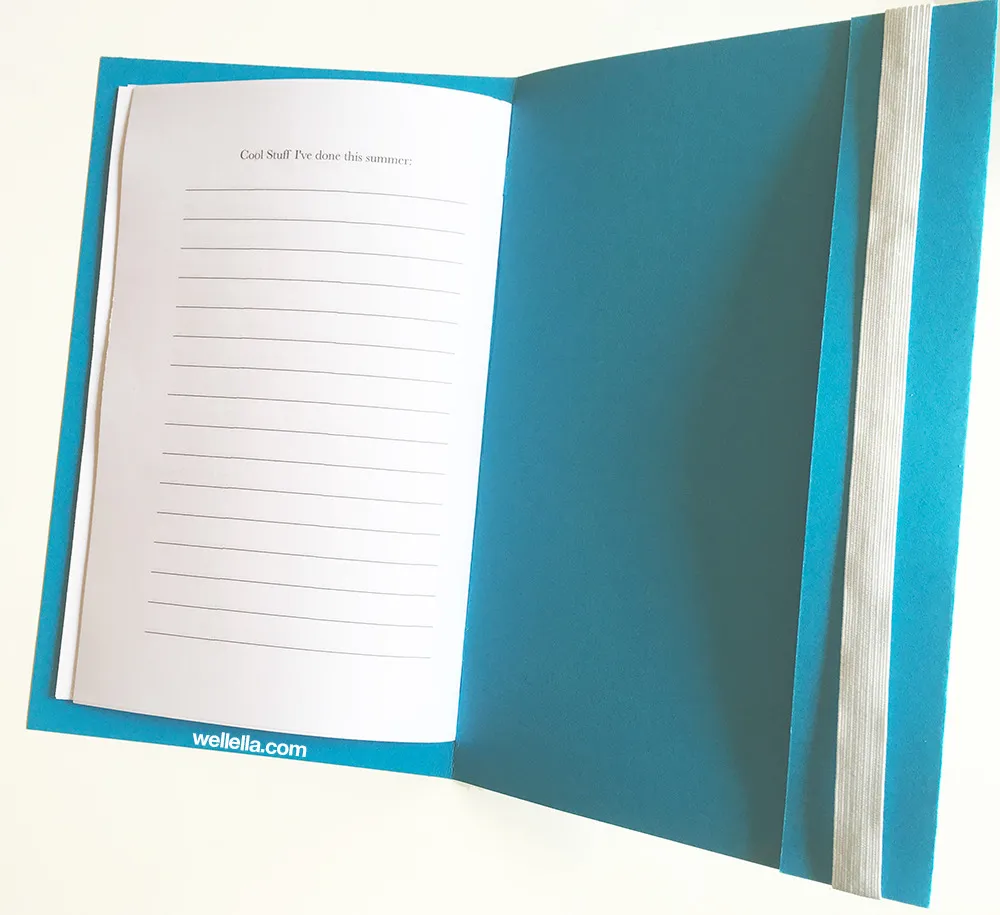
And thaaaat’s about it! The flap in the back cover, where the elastic is stapled, is the perfect place to store a pencil.
You may have noticed how the example photos show a printed journal with “cool stuff I’ve done this summer,” etc.
That’s my Kids Summer Journal and you can download it for free here!
I hope you liked this tutorial! Let me know in the comments if you tried it or if you have any questions!
